You’ve bought a decent rucksack, loaded it with everything you might possibly need for a day on the Pennine Way, and ten minutes into the walk your shoulders are screaming. The pack feels like it’s trying to pull you backwards off the hill. Your water bottle is buried somewhere near the bottom, and every time you stop to find it, you have to unpack half your kit on a wet hillside. We’ve all been there — and the fix isn’t a better rucksack, it’s better packing.
In This Article
- Why How You Pack Matters More Than What You Pack
- The Three Weight Zones
- Packing Order: Bottom to Top
- Essential Kit for a UK Day Hike
- Keeping Everything Dry
- Using Compression Straps Properly
- Hip Belt Loading: Getting the Weight Off Your Shoulders
- Accessibility: What Goes Where
- Multi-Day Packing: What Changes
- Common Packing Mistakes
- Seasonal Adjustments for UK Hiking
- Frequently Asked Questions
Why How You Pack Matters More Than What You Pack
A well-packed 10kg rucksack feels lighter than a badly packed 7kg one. That’s not an exaggeration — weight distribution changes everything. Pack the heavy items too low and the rucksack sags, pulling your shoulders back. Pack them too high and it feels top-heavy, throwing your balance on uneven ground. Get it right and the weight sits on your hips where it belongs, freeing your shoulders and back from doing all the work.
I spent my first few hikes with everything thrown in randomly. Once I learned proper packing technique, the difference was like carrying a completely different bag. Same rucksack, same gear — but suddenly a 15km walk didn’t leave me crippled the next day.
If you haven’t already chosen a pack, our backpacks buying guide covers how to find the right size and fit for your frame.
The Three Weight Zones
Think of your rucksack as having three distinct zones, each with a specific purpose.
Bottom Zone (Lightest Items)
The base of the pack is for bulky but lightweight items you won’t need until camp or your final stop. This typically means your sleeping bag (in a dry bag), spare clothes, and anything soft that can compress.
This zone acts as a cushion for the heavier items above it. Packing something heavy at the very bottom means it pulls downward and away from your centre of gravity — exactly what you don’t want.
Middle Zone (Heaviest Items)
This is where your heaviest gear goes: water, food, cooking equipment, and heavy layers. Position these items close to your back and at roughly mid-height in the pack. The goal is to keep the centre of gravity between your shoulder blades and as close to your spine as possible.
Top Zone (Light, Frequently Needed Items)
Your waterproof jacket, hat, gloves, first aid kit, and snacks belong here — anything you’ll reach for during the walk without wanting to unpack the whole bag. The lid pocket (if your rucksack has one) is perfect for items you grab every 20 minutes: phone, map, lip balm, sun cream.
Packing Order: Bottom to Top
Step 1: Line the Main Compartment
Before anything goes in, drop a large dry bag or heavy-duty bin liner inside the main compartment. This is your insurance policy against British weather. Even “waterproof” rucksacks let water in through zips and seams over time.
Step 2: Sleeping System (Bottom)
If you’re on a multi-day hike, your sleeping bag goes in first, compressed into a dry bag at the very bottom. For day hikes, use this space for spare layers or a fleece you won’t need until lunchtime.
Step 3: Heavy Items (Middle, Close to Back)
- Water bladder or bottles — flat against your back panel. A 2-litre Platypus bladder fits perfectly in most packs’ hydration sleeves
- Food and lunch — above or beside the water, centre of the pack
- Cooking gear (multi-day) — stove, fuel, pot. Wrap in a cloth to prevent rattling
- Heavy clothing layers — insulated jacket, waterproof trousers if not worn
Step 4: Medium-Weight Items (Around the Sides)
Fill gaps with medium-weight items. These stabilise the heavy core and prevent everything shifting as you walk. Stuff sacks of clothes work well here.
Step 5: Quick-Access Items (Top)
- Waterproof jacket — always on top or in the lid pocket. When it starts raining on Helvellyn, you don’t want to be rummaging
- First aid kit — accessible without unpacking
- Snacks — energy bars, trail mix, whatever keeps you moving
- Hat and gloves — weather changes fast on UK hills
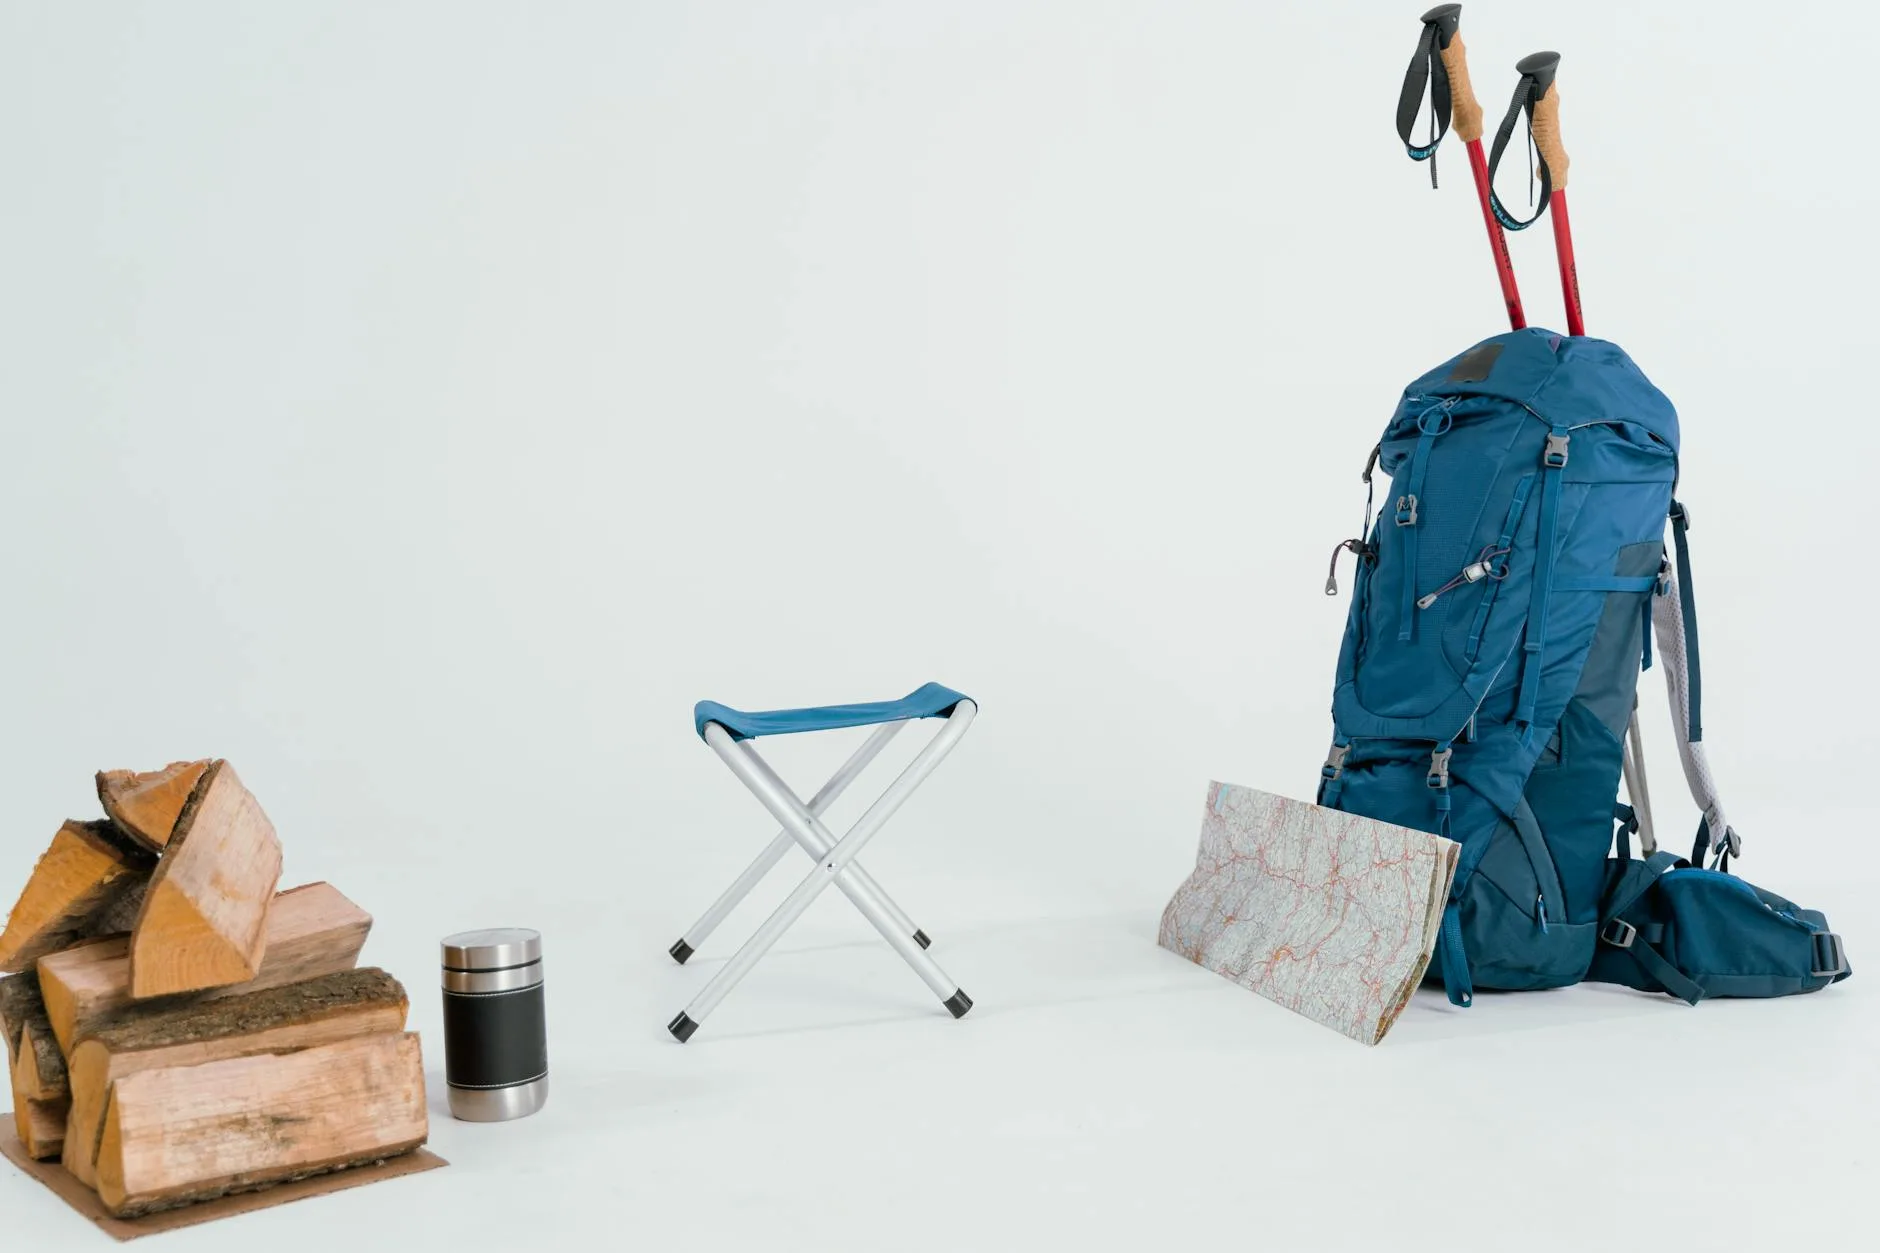
Essential Kit for a UK Day Hike
The Non-Negotiables
- Waterproof jacket and trousers — even if the forecast says sun. This is the UK
- Water — minimum 1 litre, more in summer or for longer routes. A hydration bladder lets you drink without stopping
- Food and snacks — lunch plus extra trail snacks. You’ll burn 300–500 calories per hour on steep terrain
- Map and compass — phone GPS is great until the battery dies in the cold. An OS Explorer map at 1:25,000 covers most walking areas. The Ordnance Survey has an excellent beginner’s guide to map reading
- First aid kit — blister plasters, antiseptic wipes, bandage, painkillers. Doesn’t need to be huge
- Headtorch — even on summer day walks. Getting caught out in fading light is more common than you’d think
- Phone (fully charged) — for emergencies, navigation backup, and photographing your lunch at the summit
Recommended Extras
- Spare base layer — a dry top if you get soaked or sweaty
- Insulated jacket — a lightweight down or synthetic layer. Even in summer, summit temperatures can be 10°C lower than the valley
- Sun cream and sunglasses — yes, even in the UK. Especially at altitude where UV is stronger
- Emergency shelter — a lightweight group shelter (about £20 from Decathlon) can be lifesaving in bad weather
- Trekking poles — take massive pressure off your knees on descents
Keeping Everything Dry
Pack Liner vs Rain Cover: Use Both
A rain cover clips over the outside of your rucksack and keeps the worst of the rain off. But they flap in wind, don’t cover the back panel where your sweaty back creates moisture, and can blow off entirely on an exposed ridge. They’re useful but not enough on their own.
A pack liner — a large dry bag or bin liner inside the main compartment — keeps your gear dry even if the rucksack itself is soaked through. This is the one that actually matters. A 70-litre Sea to Summit pack liner costs about £12 from Go Outdoors and lasts years.
Individual Dry Bags
For multi-day hikes, separate your kit into colour-coded dry bags:
- Blue — sleeping bag and sleep clothes
- Red — food and cooking
- Yellow — spare clothes
- Clear — electronics and documents
This isn’t just waterproofing — it’s organisation. Finding things in a packed rucksack at the end of a long day is miserable without some system.
Using Compression Straps Properly
Most rucksacks have side compression straps, and most hikers ignore them. They’re not decorative.
What They Do
Compression straps pull the load closer to your back and prevent contents from shifting as you walk. A shifting load means your body constantly adjusts to stay balanced — that’s extra energy spent and extra strain on your muscles.
How to Use Them
- Tighten after packing — pull the straps snug once everything is loaded
- Re-tighten during the day — as you eat food and drink water, the pack contents settle. A quick strap adjustment at lunch stops the afternoon slouch
- Attach external items properly — if you’re strapping a tent or mat to the outside, use the compression straps to hold it firmly. Dangling items catch on branches and throw your balance off
Hip Belt Loading: Getting the Weight Off Your Shoulders
The 80/20 Rule
A properly fitted rucksack should transfer about 80% of the weight to your hips and only 20% to your shoulders. Your hip bones can handle weight all day without complaint. Your shoulders and trapezius muscles cannot.
How to Adjust
- Position the hip belt on top of your iliac crest — the bony ridge at the top of your hips. Not on your waist, not on your belly. On the bone
- Tighten the hip belt first — before touching the shoulder straps. The pack should feel stable on your hips even without shoulder straps engaged
- Adjust shoulder straps second — they should follow the contour of your shoulders without gaps, but shouldn’t be carrying heavy load
- Load lifter straps — the small straps at the top of the shoulder harness that angle back toward the pack. These should be at roughly 45 degrees. Too tight and they pull the pack onto your upper back; too loose and the pack leans away from you
After my first proper rucksack fitting at Cotswold Outdoor, I couldn’t believe the difference. The same 12kg pack that had been destroying my shoulders for months suddenly felt comfortable for a full day. It was entirely about hip belt positioning.
Accessibility: What Goes Where
Lid Pocket
Phone, wallet, keys, lip balm, sun cream, snacks. Things you reach for constantly without taking the pack off. If your rucksack has a roll-top instead of a lid, use a small pouch clipped to the hip belt for the same purpose.
Hip Belt Pockets
Energy gels, phone, camera, tissues. These pockets are accessible while walking — no need to stop. Underrated feature that makes a massive difference on longer walks.
Side Pockets
Water bottles go here. Some people prefer a hydration bladder inside the pack, but side pockets let you see how much water you’ve got left at a glance. A Nalgene bottle (1 litre, about £10 from any outdoor shop) fits most side pockets. Our Ultralight Backpacking: How to Cut Your Pack Weight guide is useful alongside this.
Front Mesh Pocket
Wet layers you’ve taken off, a map you’re actively using, or your waterproof jacket when the rain stops. Not for heavy items — mesh stretches and tears.
For more on picking a rucksack with the right pocket configuration, see our guide on cleaning and maintaining your hiking backpack.
Multi-Day Packing: What Changes
Weight Increases, Principles Don’t
Multi-day hikes add a sleeping system, shelter, cooking gear, and more food. The packing principles stay the same — light at the bottom, heavy in the middle, accessible on top — but execution matters more because you’re carrying 12–18kg instead of 6–8kg.
Food Planning
- Day 1 food on top, later days packed deeper. Each morning, reorganise so that day’s food is accessible
- Dehydrated meals save weight and space — brands like Firepot and Real Turmat do genuinely tasty options (about £5–7 per meal from Go Outdoors or Ultralight Outdoor Gear)
- Snack bags in hip belt pockets — refill each morning from your main food supply
Tent or Shelter
The tent body goes inside the pack (middle zone, against your back if it’s heavy). Tent poles can go in a side pocket or strapped vertically to the side. Never strap a tent to the bottom of your rucksack where it’ll get soaked and muddy.
Common Packing Mistakes
Packing Too Much
The number one mistake. Every item should earn its place. Ask yourself: “Will I definitely use this?” If the answer is “maybe,” leave it behind. After years of hiking with our clothing and layering guide, I’ve learned that three good layers beat six mediocre ones.
Everything Loose in One Compartment
Without organisation, everything migrates to the bottom by the time you’ve walked a mile. Use stuff sacks, dry bags, or even zip-lock bags to keep categories of gear together.
Water at the Bottom
Water is heavy (1kg per litre). It should be centre-back in the middle zone, not at the bottom where it pulls the pack downward and away from you.
Ignoring External Attachments
Dangling items — a mug clipped to the outside, a mat flopping around, trainers tied to the back — shift your balance and catch on everything. If it’s outside the pack, it should be strapped down tight.
Not Testing Before the Walk
Pack the night before and wear it around the house for five minutes. You’ll immediately feel if something’s wrong — a hard object poking your back, the balance pulling to one side, straps that need adjusting. Much better to discover this at home than at the trailhead.
Seasonal Adjustments for UK Hiking
Spring and Autumn
The trickiest seasons. Weather can swing from warm sunshine to horizontal rain within an hour. Pack for both — waterproofs accessible, warm layer ready, sun protection included. An emergency shelter earns its place in spring and autumn more than any other time.
Summer
More water (at least 2 litres for a full day), sun protection, and lighter layers. You might think you can leave the waterproof behind — don’t. Even July and August deliver surprise rain in the British hills.
Winter
Add: warm hat, insulated gloves, extra warm layer, flask of hot drink, emergency rations, and possibly microspikes for icy terrain. The pack gets heavier, so proper weight distribution becomes even more important.
Frequently Asked Questions
How heavy should a day hiking rucksack be? For a day hike in the UK, aim for 5–8kg total packed weight including water and food. Under 6kg is ideal if you can manage it. Much heavier than 10kg and you’re either packing things you don’t need or heading out for multiple days.
Should I use a rain cover or a pack liner? Both, ideally. A pack liner (a large dry bag inside the main compartment) is the most reliable waterproofing — it keeps gear dry even if the rucksack is soaked through. A rain cover adds an extra layer of protection but can blow off in wind. If you only pick one, choose the liner.
Where should the heaviest items go in my rucksack? In the middle zone of the pack, close to your back. This keeps the centre of gravity between your shoulder blades and near your spine, which feels stable and transfers weight to your hips efficiently. Never pack heavy items at the very bottom or very top.
How do I stop my rucksack from hurting my shoulders? Ensure 80% of the weight sits on your hip belt, not your shoulders. Position the hip belt on your iliac crest (the bony hip ridge), tighten it first, then adjust shoulder straps to follow your shoulders without carrying heavy load. Load lifter straps should be at roughly 45 degrees.
Can I strap my tent to the outside of my rucksack? You can, but it’s not ideal. External items catch on branches, get wet, and affect your balance. If possible, pack the tent body inside (middle zone) and put poles in a side pocket. If it must go outside, strap it on top and use compression straps to hold it firmly.