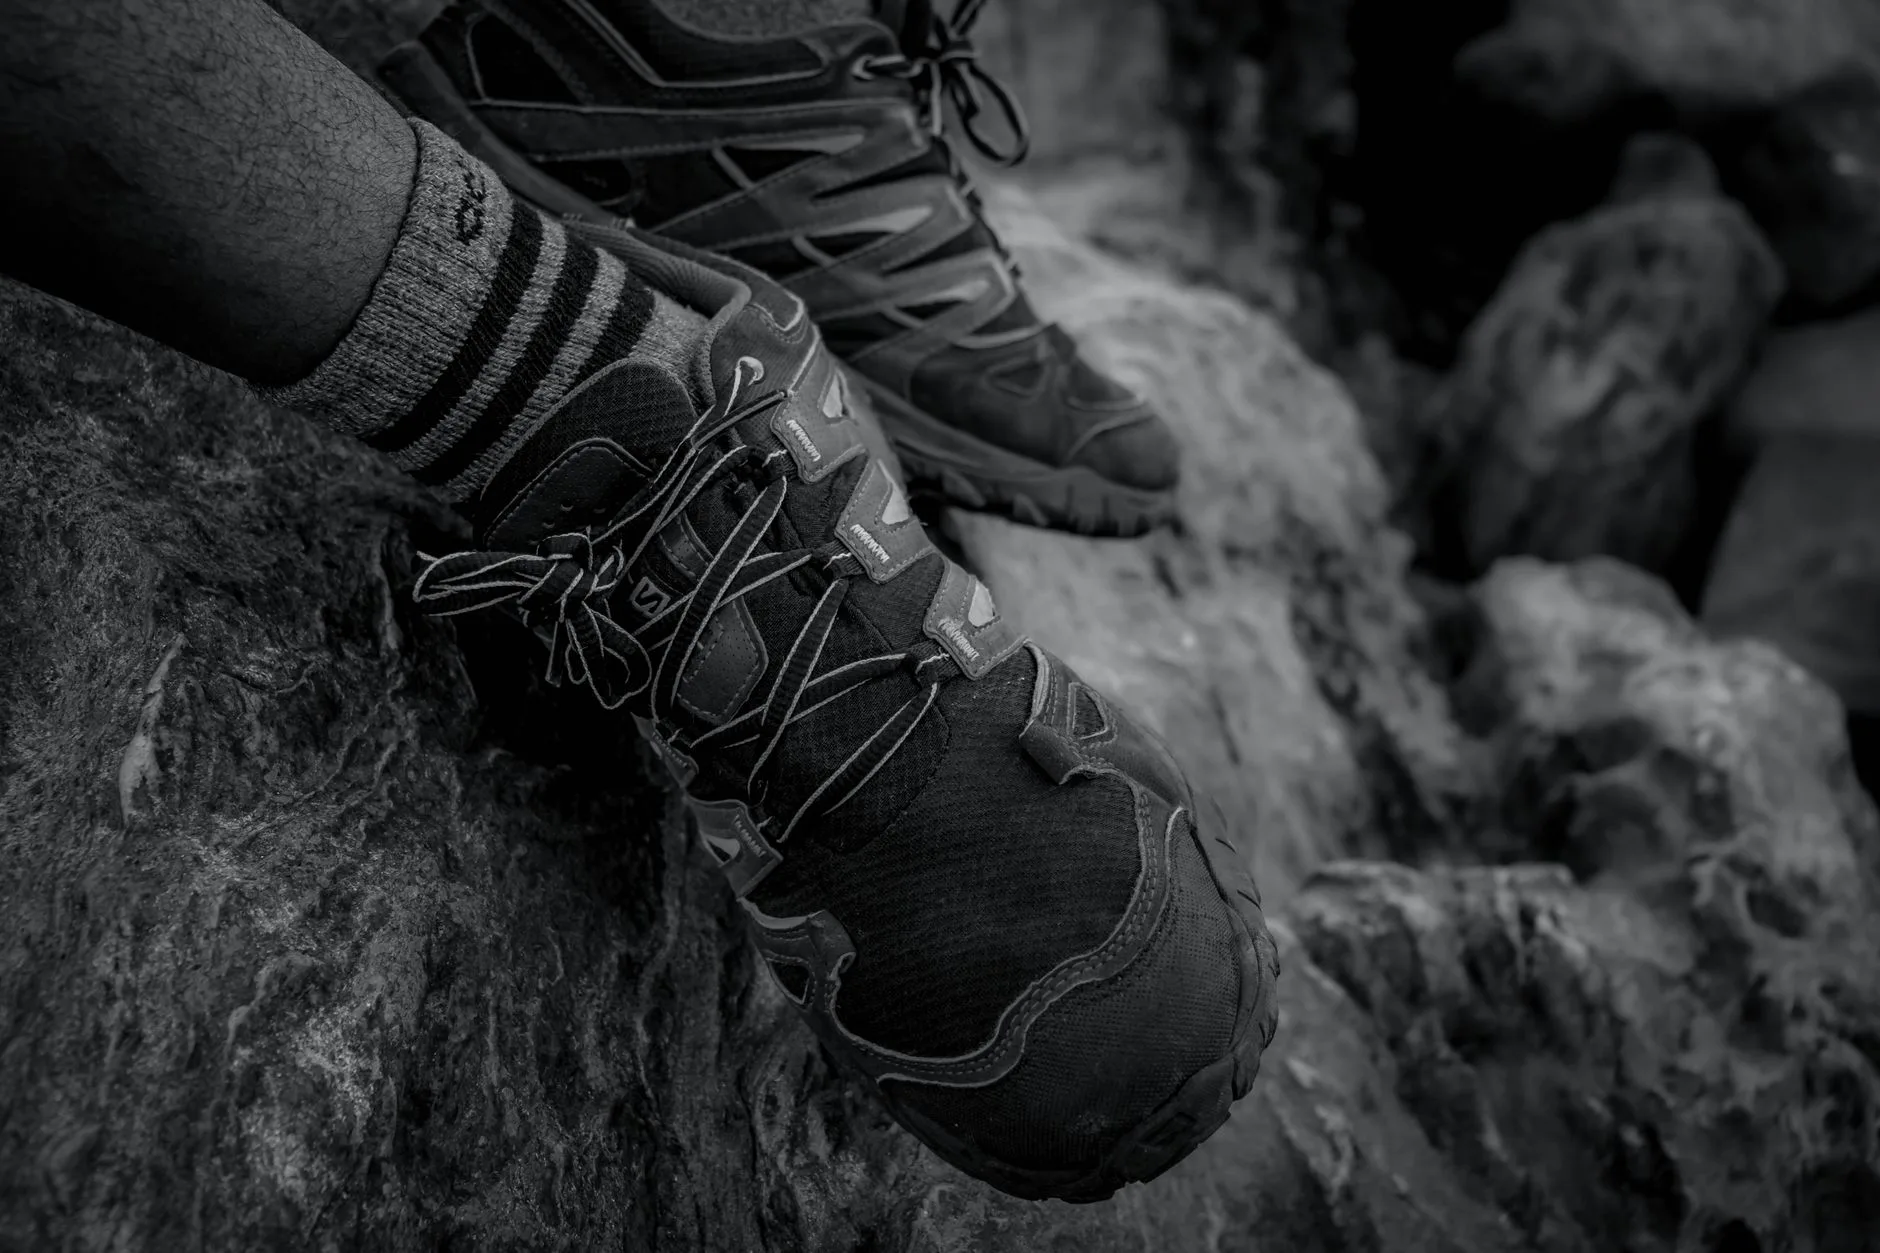
Blisters ruin walks because they start small and get ignored. The fix is to stop at the first hot spot, dry the area, reduce friction, and protect the skin before it turns into a fluid-filled blister.
In This Article
- Blister Prevention and Treatment for Hiking: The Quick Trail Fix
- Why Hiking Blisters Happen
- Boots and Socks That Prevent Blisters
- How to Tape and Protect Problem Areas
- Treating Blisters on the Trail
- What to Pack in a Hiking Blister Kit
- When to Stop Walking or Get Medical Help
- Frequently Asked Questions
Blister Prevention and Treatment for Hiking: The Quick Trail Fix
The best blister prevention and treatment habit for hiking is brutally simple: stop early. Do not wait until the cafe, the summit, or the car park. A hot spot is your foot giving you a receipt for a problem you can still fix cheaply.
Here is the quick trail order I use:
- Stop as soon as you feel rubbing, heat or a sharp pinch.
- Take the boot off and check the sock, insole and skin.
- Dry the foot with a small cloth or spare sock.
- Smooth out sock creases and shake grit from the boot.
- Cover the hot spot with tape, moleskin or a hydrocolloid plaster.
- Retie the boot so the heel is held but the toes are not crushed.
- Walk for five minutes and reassess before committing to the next climb.
That five-minute pause feels annoying. It is still better than limping six miles with a raw heel. The walkers who “push through” are usually the ones borrowing tape from strangers by lunchtime.
If the blister has already formed, switch from prevention to protection. The NHS blister advice says blisters often heal on their own within a week and you should avoid bursting them yourself. On a hike, that means clean, cover, reduce friction, and make a sensible call about whether the route is still worth it.
Why Hiking Blisters Happen
Most hiking blisters come from friction, moisture and pressure working together. One of those may be manageable. All three at once is how a tiny rub becomes a day-ender.
Friction does the damage
Your sock moves against your skin, your heel lifts inside the boot, or your toes rub together on descents. Repeated movement separates the upper layers of skin and fluid collects underneath. That is the blister.
The first clue is usually heat, not pain. If one patch of skin feels warm or polished, stop. By the time it hurts, the top layer of skin may already be damaged.
Moisture makes skin weaker
Wet skin blisters faster. Rain, sweat, boggy paths and river crossings all make your feet softer and more vulnerable. This is why summer blisters can be just as bad as winter ones: hot feet sweat, socks bunch, and waterproof boots can trap moisture if they are too warm for the day.
Before long walks, I check the Met Office seasonal advice and the local forecast. If the day looks wet, I pack spare socks and tape rather than pretending my boots are magic.
Fit problems show up under load
A boot that feels fine in the shop can misbehave with a 10kg pack on a steep descent. Heels lift, toes hit the front, and the ankle collar rubs as your stride changes. If you are carrying more weight than usual, read our rucksack fitting guide too; a badly loaded pack changes how your feet land.
The usual friction zones are:
- Back of the heel: heel lift, stiff boot collars or socks sliding down.
- Little toe and big toe: narrow toe boxes or long downhill sections.
- Ball of the foot: hot, damp socks or insoles that let the foot slide.
- Ankle bones: high collars, boot hooks or stiff leather not yet softened.
- Between toes: sweat, toe overlap or socks with rough seams.
Once you know your personal danger spots, prevention gets much easier.
Boots and Socks That Prevent Blisters
Boots and socks matter more than any blister plaster. Tape can rescue a bad setup for a day, but it will not make the wrong boots right.
Get the boot fit right first
Good walking boots should hold your heel, leave enough toe room, and flex where your foot flexes. If your toes touch the front when you walk downhill, the boot is too short or poorly laced. If your heel rises with every step, the boot is too roomy or the lacing is not locking your foot back.
For UK hillwalking, decent fabric boots often start around £80-£120 at Decathlon, Go Outdoors or Blacks. Leather or stiffer three-season boots from brands such as Scarpa, Meindl and Salomon are often £140-£230. More expensive is not always kinder to your feet. The best boot is the one that fits your heel and forefoot without drama.
If you are still choosing footwear, use our best walking boots UK guide as the boot-buying piece. This article is about keeping your feet intact once you own them.
Wear proper hiking socks
Cotton sports socks are blister bait. They hold moisture, bunch up, and stay damp. For hiking, look for merino blend or synthetic socks with a shaped heel, flat seams and enough cushioning for your boot.
Typical UK prices:
- Budget walking socks: £6-£10 a pair from Decathlon or Mountain Warehouse.
- Good merino blend socks: £14-£24 a pair from Bridgedale, Smartwool, Darn Tough or 1000 Mile.
- Liner socks: £8-£15 a pair, useful if toe or heel friction is your main issue.
- Two-layer anti-blister socks: often £12-£22, useful for some walkers but not a miracle fix.
My preference for UK day walks is a midweight merino blend sock, not the thickest sock in the shop. Thick socks can make a close boot tighter, which then creates toe pressure. If you need more warmth, check your boot volume before just adding bulk.
Break boots in with boring walks
New boots should earn their place before a big route. Wear them for short local walks, wet grass, pavements and easy trails. You are looking for repeat rub points, not hero mileage.
A sensible break-in pattern:
- Wear the boots indoors for 30 minutes with hiking socks.
- Walk 2-3km locally and check for hot spots.
- Try a 6-8km walk with a light pack.
- Add hills and wet ground.
- Only then use them for a long mountain or multi-day walk.
If your boots are soaked after a trip, dry them slowly and reset them properly. Our drying wet hiking gear guide covers the boring bit that saves your next walk.
How to Tape and Protect Problem Areas
Taping works best before the blister forms. Once the skin is already raised and sore, tape can pull on damaged skin unless you protect it with the right dressing.
Tape hot spots before the walk
If you know your heel always rubs after 5km, tape it at home. Clean dry skin holds tape better than sweaty skin halfway up a hill.
Useful options:
- Zinc oxide tape: about £3-£6 a roll from Boots, Superdrug or Amazon UK; strong hold, good for heels.
- Leukotape-style sports tape: about £7-£11 a roll; very sticky, excellent for known rub points, but harsh to remove.
- Moleskin or fleece padding: about £4-£8; good for pressure padding around a sore area.
- Hydrocolloid blister plasters: about £4-£8 for a small pack; best once a blister is forming or formed.
- Anti-friction balm: about £5-£9; useful on toes but can stop tape sticking if applied underneath.
Round the tape corners with scissors so they do not peel. Apply it without wrinkles. If you tape over a crease, you have just made a new rub point. Ask me how I know.
Use lacing to stop heel lift
Heel lift is one of the easiest blister causes to fix. A heel-lock lace at the top hooks can pull the foot back without crushing the toes. If the boot has locking lace hooks, use them to keep the lower foot snug and the ankle section separate.
On descents, retie before the long downhill. Your feet slide forward as the route drops, and that is when toe blisters start. A 60-second lace reset at the top is not fussy. It is cheaper than new toenails.
Do not tape everything
Some walkers tape half their foot for every outing. That can work for ultra-distance events, but for normal UK hiking it often hides the real problem: poor fit, wet socks or too much foot movement.
Use tape where you have a known issue. If you need tape on both heels, every toe and the ball of each foot, the boot and sock system needs changing.
Treating Blisters on the Trail
Blister treatment on a hike is about protecting skin, avoiding infection and deciding whether carrying on is sensible. It is not a wilderness surgery contest.
If the skin is hot but not blistered
Treat it as a hot spot:
- Stop and dry the skin.
- Remove grit, sock creases or insole folds.
- Cover the area with zinc oxide tape or moleskin.
- Adjust lacing to reduce movement.
- Check again after a few minutes.
This is the best-case scenario. You caught it early and can probably continue if the protection holds.
If the blister is intact
Do not burst it yourself. The NHS advice is clear that blisters usually heal on their own and should be kept clean and protected. On the trail, clean around it if you can, cover it with a hydrocolloid blister plaster or sterile dressing, and reduce the pressure around it.
If the blister is on the heel, a doughnut-shaped moleskin pad around the blister can reduce pressure while the centre stays protected. If you only slap tape straight over a raised blister, removal can be ugly.
If the blister has burst
Keep the loose skin in place if it is still covering the area. Clean gently with clean water or an antiseptic wipe, cover with a sterile non-stick dressing, and keep it protected from grit. Change the dressing when it gets wet or dirty.
This is where a spare pair of socks matters. Putting a clean dressing back into a wet sock is better than doing nothing, but not by much.
If pain changes your walking
If you start limping, shorten the route. Limping creates new problems in knees, hips and the other foot. A blister is annoying; a twisted ankle because you were walking oddly is a bigger problem.
For remote walks, carry a realistic escape plan. Know the shorter loop, bus stop, car park or valley path. Our how to pack a rucksack for hiking guide is useful here because foot care belongs in the accessible part of the pack, not buried under lunch and waterproofs.
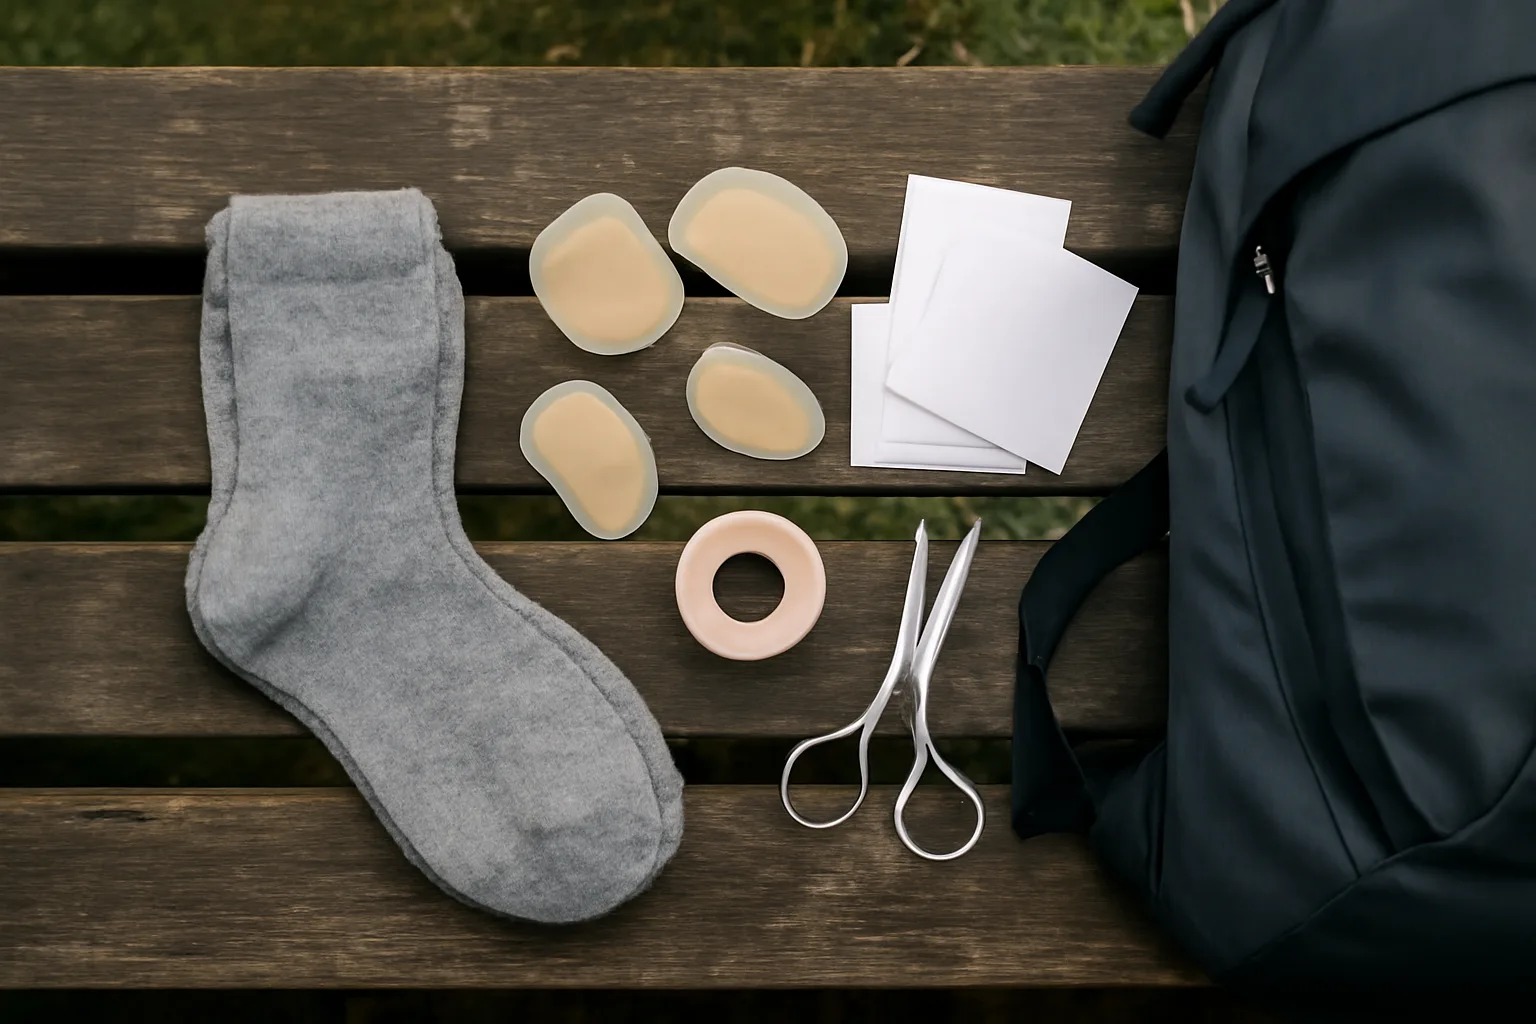
What to Pack in a Hiking Blister Kit
A blister kit should be small enough that you always carry it. A huge first-aid pouch that stays at home is useless.
For UK day walks, pack:
- Hydrocolloid blister plasters: £4-£8; Compeed, Boots own-brand or similar.
- Zinc oxide tape: £3-£6; for hot spots and heel rub.
- Small moleskin or padding sheet: £4-£8; cut to shape around pressure points.
- Antiseptic wipes: £2-£4 for a small pack.
- Sterile non-stick dressings: £2-£5; useful if a blister bursts.
- Tiny scissors: £3-£8; makes tape and moleskin usable.
- Spare socks: £8-£24 depending on brand; often the most useful item in the kit.
- Small resealable bag: pennies; keeps used dressings and wet socks away from clean kit.
I keep blister supplies in a small freezer bag inside the top pocket of the rucksack. Not elegant. Works.
For multi-day hikes, double the dressings and add a second tape type. If you are doing long wet routes, our waterproof jacket ratings guide will not save your feet directly, but staying drier overall reduces the amount of damp kit you are managing.
What I would buy first
If you are starting from nothing, buy one pack of hydrocolloid plasters, one roll of zinc oxide tape, a small pair of scissors and one good pair of hiking socks. That is about £25-£45 total depending on brands.
The premium version would be Bridgedale or Darn Tough socks at £18-£24, Compeed plasters at £5-£8, Leukotape at £8-£11, and a small Lifesystems-style first-aid pouch at £12-£20. Nice to have, not compulsory.
Spend money where it changes the walk. Socks and tape matter. A giant first-aid kit full of things you never use does not.
When to Stop Walking or Get Medical Help
Most hiking blisters are minor, but infected or badly placed blisters can become more than a nuisance. Do not let summit fever overrule basic judgement.
Stop or shorten the route if:
- You are limping: altered walking can cause other injuries.
- The blister is growing quickly: continuing friction is winning.
- You cannot keep it clean: bog, sand and grit are not friendly to broken skin.
- You are on a remote route: small problems get bigger when exit options are poor.
- A child is affected: children often under-report pain until they are miserable.
Get medical advice if the area becomes increasingly red, hot, swollen or painful, if pus appears, if you feel unwell, or if you have diabetes, poor circulation or a condition that affects healing. That is not over-cautious; feet are fairly important.
For most walkers, the better move is prevention: fitted boots, decent socks, early taping, dry feet where possible, and the humility to stop after the first warning sign. The hill will cope if you take your boot off for two minutes.
Frequently Asked Questions
How do you prevent blisters when hiking? Wear well-fitted boots, use proper hiking socks, stop at the first hot spot, keep feet as dry as possible, and tape known rub points before long walks.
Should you pop a hiking blister? No, not as a normal trail fix. NHS guidance says blisters usually heal on their own and you should avoid bursting them yourself. Cover and protect the blister instead.
Are thick socks better for preventing blisters? Not always. Thick socks can help in roomy boots, but they can make close boots tighter. A well-fitted merino or synthetic hiking sock is usually better than simply choosing the thickest pair.
What should I put in a hiking blister kit? Pack hydrocolloid blister plasters, zinc oxide tape, moleskin or padding, antiseptic wipes, sterile dressings, tiny scissors and spare socks.
Why do I get blisters on descents? Your foot slides forward on downhill sections, which rubs toes and the ball of the foot. Retie your boots before descents and make sure your toes are not hitting the front.
Can wet socks cause blisters? Yes. Wet skin is softer and more vulnerable to friction, so spare socks and breathable footwear can make a real difference on damp UK walks.