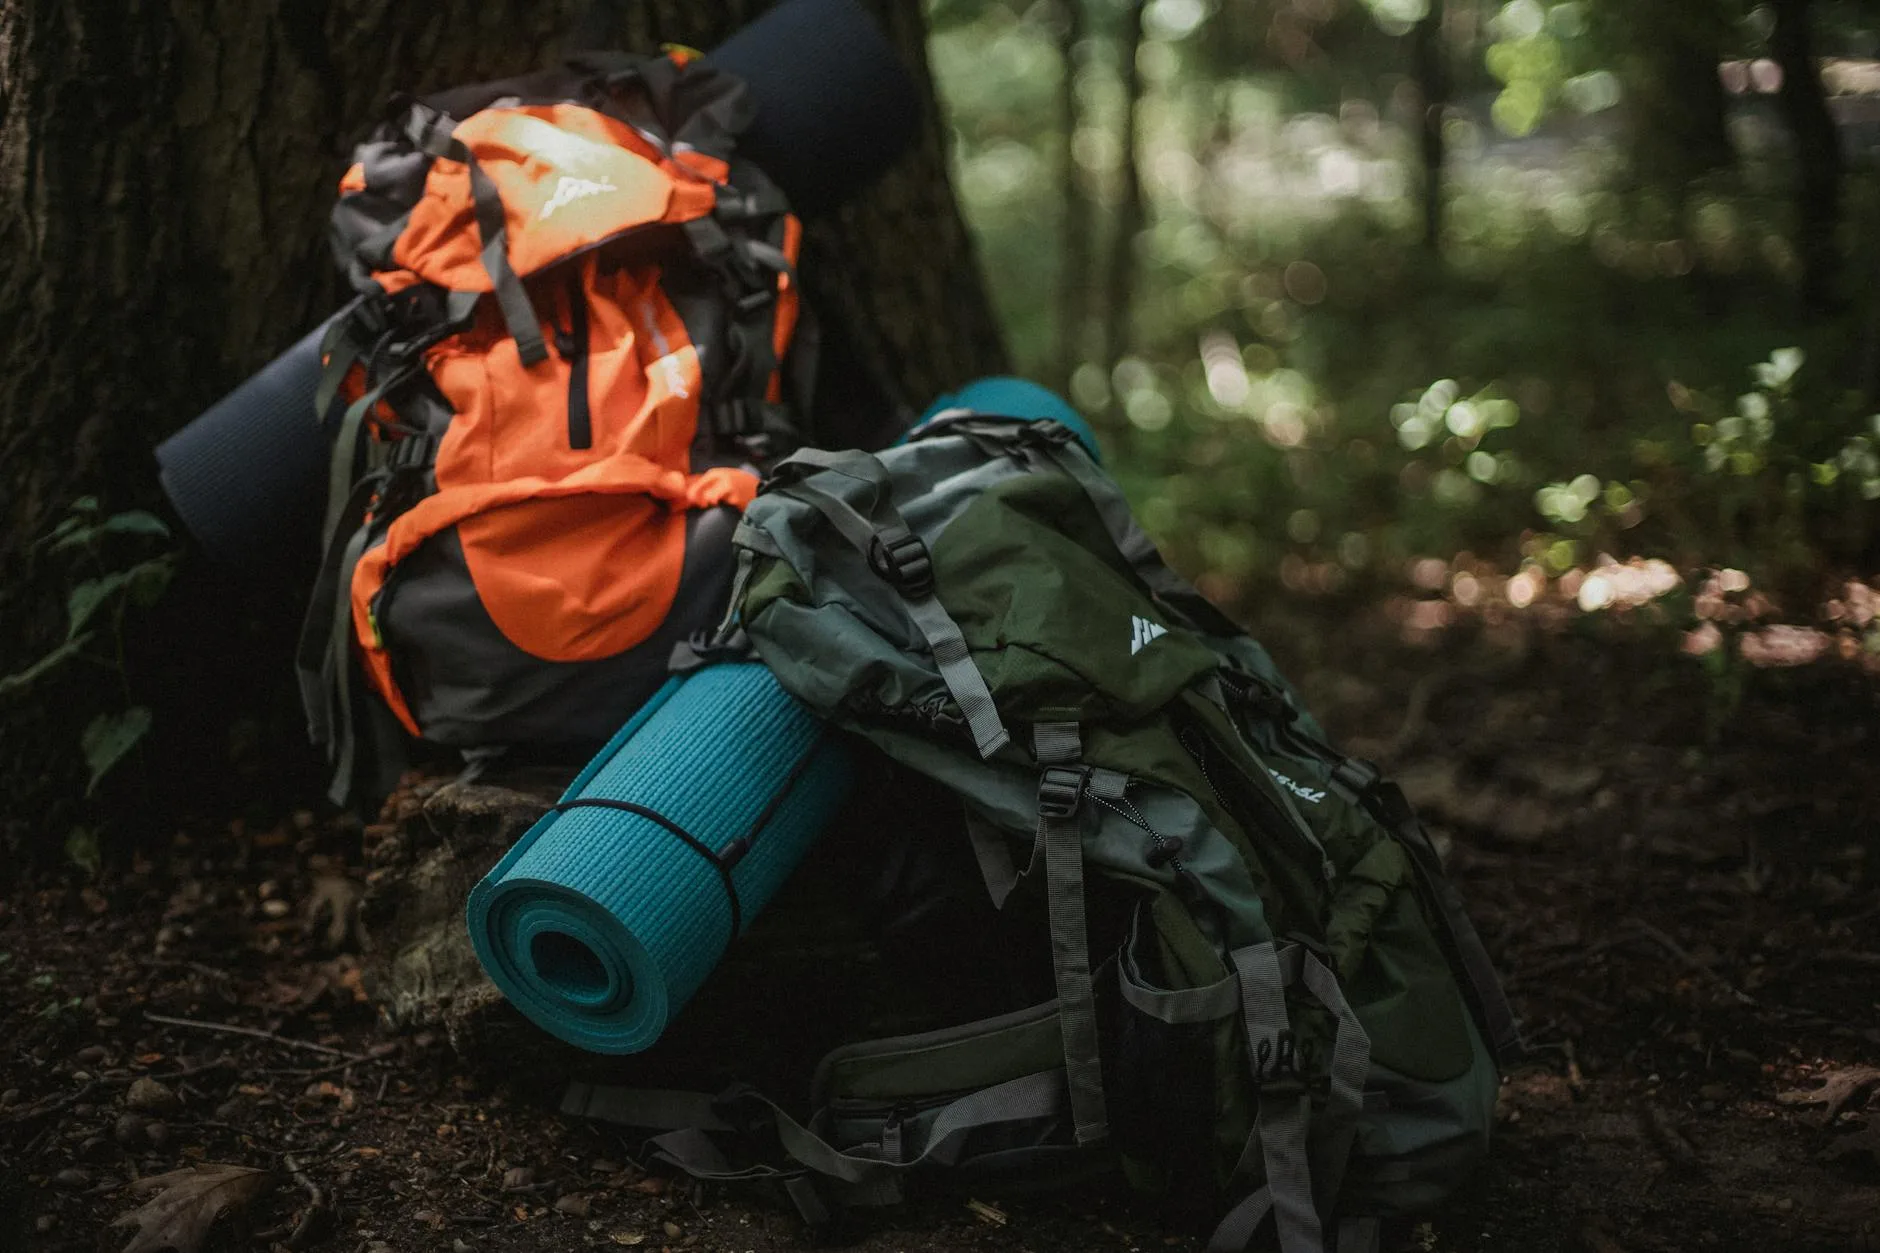
It’s midnight on Dartmoor, you’re lying in your tent on a thin foam mat, and every stone and root beneath you has become a personal enemy. Your hips ache, your shoulders are numb, and the cold is creeping up through the ground despite your expensive sleeping bag. The bag insulates from above, but between you and the frozen earth there’s nothing but 6mm of cheap foam doing approximately nothing. Your sleeping pad matters more than your sleeping bag — that’s the hill I’ll die on, and I’ll die comfortably on a good pad while doing it.
In This Article
- Why Your Sleeping Pad Matters More Than Your Sleeping Bag
- The Three Types of Sleeping Pad
- Closed-Cell Foam Pads
- Self-Inflating Pads
- Air Pads
- R-Value Explained
- Choosing by Activity
- Size and Shape Options
- UK Buying Recommendations
- Care and Repair
- Frequently Asked Questions
Why Your Sleeping Pad Matters More Than Your Sleeping Bag
A sleeping bag insulates by trapping air in its fill — down or synthetic fibres create pockets of warm air around your body. But underneath you, your body weight compresses the fill flat. Zero loft means zero insulation. The ground beneath your tent is cold — even in summer, UK ground temperatures sit at 8-14°C — and without insulation between you and that cold earth, conductive heat loss ruins your night.
The Comfort Factor
Beyond warmth, a sleeping pad provides cushioning. Your hip bone pressing against hard ground through a thin mat creates pressure points that wake you repeatedly. A good pad suspends your body on a cushion of air or foam, distributing weight evenly and eliminating pressure points. The difference between a cheap foam mat and a proper sleeping pad is the difference between four hours of broken sleep and eight hours of genuine rest.
The Investment Perspective
A good sleeping pad costs £50-150 and lasts 5-10 years. A bad night’s sleep ruins the next day of your trip. Over a decade of camping trips, that works out to pennies per night for vastly better rest. It’s the single best value upgrade in camping gear, ahead of tents and bags.
The Three Types of Sleeping Pad
Quick Comparison
- Closed-cell foam — cheapest, lightest, indestructible, least comfortable, lowest insulation
- Self-inflating — moderate weight, good comfort, reasonable insulation, moderate pack size
- Air pad — lightest packed, most comfortable, highest insulation possible, puncture-prone
Each type suits different camping styles. There’s no universally best option — your choice depends on what you prioritise.
Closed-Cell Foam Pads
The simplest sleeping pad: a sheet of dense, closed-cell foam, usually 10-15mm thick, with an egg-crate or ridged surface.
How They Work
The foam’s closed cells trap air permanently within the material, providing both insulation and (minimal) cushioning. They don’t inflate — you unroll them and lie on top.
Pros
- Indestructible — no punctures, no leaks, no valves to break. You can sit on them, kneel on them, use them as a seat at camp, and they still work perfectly
- Instant setup — unroll and done. No inflation, no waiting
- Lightweight — 200-400g for a full-length pad
- Cheapest option — £10-25 from outdoor shops or Amazon UK
- Work as backup — carry one as emergency insulation even if your primary pad is air or self-inflating
Cons
- Least comfortable — 10-15mm of foam doesn’t eliminate ground pressure. Side sleepers feel every hip bone
- Bulky — they don’t compress. A foam pad strapped to the outside of your rucksack adds significant volume
- Low R-value — typically R 1.5-2.5. Fine for summer, inadequate for winter without supplementing
Best For
Ultralight backpackers who prioritise weight and reliability. Summer wild camping where warmth isn’t critical. Scouts, DofE groups, and festivals where gear gets abused. As a supplementary pad layered under an air pad for winter camping.
Self-Inflating Pads
A hybrid design: open-cell foam inside an airtight shell with a valve. Open the valve and the foam expands, drawing air in. Close the valve, and you have a foam-and-air pad that provides both insulation and cushioning.
How They Work
- Open the valve — the compressed foam inside expands, pulling air into the pad through the open valve. This takes 5-15 minutes depending on the pad’s size and how compressed it was during storage
- Top up with breaths — self-inflation gets the pad about 80% full. A few breaths through the valve firms it to your preferred pressure
- Close the valve and sleep
Pros
- Better comfort than foam — 25-50mm thick, with real cushioning from the foam and air combination. Side sleepers can actually sleep comfortably
- Good insulation — the foam provides inherent insulation even if the pad develops a slow leak. R-values of 2.5-5.0 are common
- Relatively durable — thicker shell material than pure air pads, and the foam inside limits catastrophic deflation if punctured
- Moderate price — £30-80 for good options
Cons
- Heavier — 500-1,200g depending on size and thickness. The foam adds weight that pure air pads avoid
- Larger pack size — they don’t compress as small as air pads because the foam resists compression
- Slow to inflate — 5-15 minutes for self-inflation, versus 1-2 minutes for blowing up an air pad
- Foam degrades — over years, the open-cell foam loses its ability to expand, reducing both self-inflation and insulation
Best For
Car camping and base camping where weight isn’t critical. Weekend camping trips. People who want genuine comfort without spending £100+. Three-season UK use (spring through autumn). Our guide to choosing a tent covers shelter choices that pair well with different pad types. For a related angle, see our Best Sleeping Bags 2026 UK: 3-Season & Winter Tested guide.
Air Pads
The most modern design: an airtight shell with internal baffles or chambers, inflated entirely by breath or a pump sack. No foam inside — just air.
How They Work
You inflate the pad by blowing into a valve, using a pump sack (a lightweight stuff sack that doubles as a bellows), or a battery-powered mini pump. The internal baffles distribute air evenly and prevent you from rolling off. Higher-end pads have insulation (synthetic fill or reflective coatings) inside the chambers for warmth.
Pros
- Most comfortable — 6-10cm of air suspension conforms to your body. Even side sleepers with bony hips sleep well
- Smallest pack size — deflated and rolled, an air pad fits in a 1-litre stuff sack. Hugely space-efficient
- Lightest (for the comfort) — 350-600g for full insulation. The best weight-to-comfort ratio available
- Highest R-values possible — insulated air pads reach R 5-7, suitable for winter and snow camping
Cons
- Puncture risk — the fundamental weakness. A thorn, sharp stone, or abrasive ground surface can puncture the shell. Carry a repair kit
- Noise — some air pads crinkle and rustle when you move. Modern designs have reduced this, but it’s still a factor on budget models
- Condensation inside — moisture from breath inflation can accumulate inside the pad. Use a pump sack to avoid this
- More expensive — £60-200 for good options. Premium insulated pads exceed £200
- Complete failure on puncture — unlike a self-inflating pad (which retains some foam cushioning when flat), a punctured air pad gives you nothing
Best For
Backpacking and wild camping where weight and pack size matter. Multi-day hiking trips. Winter camping (with an insulated model). Anyone who prioritises sleep quality and is willing to carry a repair kit. Our How to Choose a Sleeping Bag for UK Camping guide is useful alongside this.
R-Value Explained
R-value measures a pad’s resistance to heat flow — how well it stops warmth escaping from your body into the cold ground. Higher R-value = more insulation = warmer.
R-Value Guide for UK Camping
- R 1.0-2.0 — summer only (June-August). Fine for warm nights above 10°C
- R 2.5-3.5 — three-season (April-October). Comfortable for most UK camping
- R 4.0-5.5 — four-season including winter. Good down to freezing and below
- R 6.0+ — extreme cold and snow camping. Overkill for UK lowland camping but appropriate for Scottish winter mountains
Standardised Testing (ASTM)
Since 2020, R-values are tested using a standardised ASTM method, making cross-brand comparisons reliable. Older pads may have inflated R-values from non-standardised testing. If a pad doesn’t state “ASTM R-value,” treat the number with scepticism.
Stacking R-Values
You can add R-values by layering pads. A foam pad (R 2.0) under an air pad (R 3.5) gives a combined R 5.5 — a useful trick for extending a three-season pad into winter use without buying a dedicated winter pad. We cover a similar decision in How to Wash a Sleeping Bag.
Choosing by Activity
Wild Camping and Backpacking
- Priority: low weight, small pack size, adequate warmth
- Best choice: insulated air pad (R 3.0+, under 500g)
- Budget option: closed-cell foam pad for summer; self-inflating for three-season
Car Camping and Family Camping
- Priority: comfort, value, durability
- Best choice: thick self-inflating pad (50mm+) or luxury air mattress
- Budget option: self-inflating pad from Vango, Outwell, or Hi Gear
Festival Camping
- Priority: cheap, indestructible, don’t care if it gets lost
- Best choice: closed-cell foam pad. £10 from Go Outdoors. Use it, abuse it, leave it in the tent if you must
- Never bring: your expensive Therm-a-Rest to a festival. It will get punctured, stolen, or covered in something unidentifiable
Bikepacking and Ultralight
- Priority: minimum weight and pack size
- Best choice: ultralight air pad (300-400g) or trimmed foam pad
- Note: some bikepackers use both — a trimmed foam pad for hip/shoulder zones and a short air pad on top. Total weight under 500g with excellent comfort
Size and Shape Options
Length
- Full-length (183-196cm) — covers your entire body. Most comfortable, heaviest
- Three-quarter (120-140cm) — covers torso and hips. Your legs rest on your empty rucksack or folded clothes. Saves 100-200g
- Torso (90-100cm) — ultralight minimalism. Covers shoulders to hips only. Lightweight hikers and gram-counters
Width
- Standard (51cm) — fits most people in most sleeping bags. The default
- Wide (63cm) — more room to move. Better for side sleepers and restless sleepers. Adds 100-150g
- Double (128cm+) — for couples. More comfortable than two separate pads that slide apart
Shape
- Rectangular — maximum sleeping surface, heaviest
- Mummy — tapered at the feet to save weight and fit inside mummy sleeping bags. The standard for backpacking pads
- Semi-rectangular — a compromise with a slight taper. Roomier than mummy, lighter than rectangular
UK Buying Recommendations
Best Foam Pad: Therm-a-Rest Z Lite Sol (about £35-45)
The gold standard closed-cell foam pad. Accordion-fold design packs neatly, reflective coating adds warmth (R 2.0), and it’s virtually indestructible. Available from Cotswold Outdoor, Ultralight Outdoor Gear, and Amazon UK. Our guide to packing a rucksack for hiking covers how to attach a foam pad externally.
Best Self-Inflating: Vango Comfort 10 (about £50-70)
10cm thick, supremely comfortable for car camping. R-value 5.0, so it works year-round. Heavy (2.3kg) but that doesn’t matter when it’s going in the boot. Available from Go Outdoors, Cotswold Outdoor, and Millets. For independent guidance, check Ordnance Survey outdoor guides.
Best Air Pad for Backpacking: Sea to Summit Ether Light XT (about £100-140)
Comfortable (10cm thick), light (490g for regular size), and warm (R 3.2 for three-season). The air sprung cells provide genuine comfort without excessive weight. Available from Cotswold Outdoor and specialist outdoor retailers.
Best Budget Air Pad: Naturehike Ultralight (about £30-40)
Surprisingly good for the price. 400g, R 2.0, packs small. Not as durable or warm as premium options, but a fraction of the price. Available from Amazon UK. A great entry into air pads for paddlers who don’t want to spend £150 before knowing if they suit them.
Care and Repair
Inflation Tips
- Use a pump sack rather than blowing directly — breath moisture causes mould and reduces insulation over time
- Don’t over-inflate — the pad should be firm enough to keep you off the ground but soft enough to conform to your body. If it feels like a balloon, let some air out
Storage
- Store self-inflating pads unrolled with the valve open — this keeps the foam expanded and extends the pad’s life. Rolling it tight for months compresses the foam permanently
- Store air pads loosely rolled in a cool, dry place. Don’t leave them inflated and in direct sunlight — UV degrades the shell material
Repair
- Carry a repair kit on every trip. Most pads come with one. If not, a Therm-a-Rest repair kit (about £5) works on virtually any pad
- Finding a leak: inflate the pad firmly, submerge sections in water (a bathtub works), and look for bubbles. Mark the hole, dry the area, apply the patch
- Field repair: clean the area around the puncture, apply the adhesive patch from your kit, wait 15 minutes. It’ll hold for the rest of the trip. Proper repair at home with contact adhesive gives a permanent fix
Frequently Asked Questions
What’s the most comfortable sleeping pad for side sleepers? Air pads at least 7cm thick. The Sea to Summit Ether Light XT (10cm) and Therm-a-Rest NeoAir XLite NXT (7.6cm) both prevent hip contact with the ground in side sleeping position. Self-inflating pads need to be at least 5cm thick to avoid bottoming out on your hip bone.
Can I use a sleeping pad without a sleeping bag? In warm conditions (above 15°C), you can sleep on a pad with just a liner or blanket. The pad’s R-value doesn’t matter much because you’re not losing heat to cold ground — you’re just using it for comfort. In cooler conditions, a pad without a bag leaves your top half exposed, so you’ll get cold regardless of the pad’s insulation.
How long do sleeping pads last? Foam pads last 10+ years (they don’t degrade meaningfully). Self-inflating pads last 5-8 years before the foam loses its ability to self-inflate. Air pads last 3-7 years depending on use and care — the shell material and valve are the failure points. With careful storage and prompt repairs, all types last longer.
Is it worth buying an expensive sleeping pad? Yes, if you camp regularly. Sleep quality directly affects enjoyment. A £100 pad that gives you 8 hours of good sleep is better value than a £20 pad that gives you 4 hours of broken sleep on every trip for the next five years. For occasional campers (1-2 trips per year), a mid-range self-inflating pad at £40-60 is the sweet spot.
Can I repair a punctured air pad in the field? Yes. Most air pads include a small repair kit with adhesive patches. Clean and dry the area around the puncture, apply the patch, wait 15 minutes, and re-inflate. Field repairs hold reliably for the rest of a trip. Some paddlers carry a strip of Tenacious Tape as an instant field fix — peel, stick, and it holds immediately.