It’s 4pm, the cloud has dropped, the drizzle has turned into proper rain, and you’re standing in a field trying to work out which pole goes where while the wind pulls your flysheet across the campsite like a deranged kite. Everyone who camps in the UK long enough ends up here. The difference between a miserable evening and a perfectly dry one comes down to what you do in the next twenty minutes. Pitching a tent in bad weather isn’t hard — it just requires a different approach to the calm, sunny setup you practised in the garden.
In This Article
- Before You Leave: Preparation That Matters
- Choosing Your Pitch in Bad Weather
- The Flysheet-First Method
- Pitching in Strong Wind
- Pitching in Heavy Rain
- Anchoring and Guying Out Properly
- Protecting the Interior
- Common Mistakes That Make Bad Weather Worse
- Breaking Camp in Bad Weather
- Frequently Asked Questions
Before You Leave: Preparation That Matters
Know Your Tent Blindfolded
This is the single most important thing you can do. If you’ve never pitched your tent before arriving at a rain-lashed campsite, you’re going to have a terrible time. Set it up in the garden at least twice — once following the instructions, once from memory. Time yourself. The difference between a 5-minute pitch and a 25-minute fumble is the difference between slightly damp and completely soaked.
Pack Smart for Bad Weather Setup
The order you pack your kit determines how quickly you can get shelter up. Keep these accessible at the top of your rucksack, not buried at the bottom:
- Tent poles and pegs — in a side pocket or strapped externally if possible
- Flysheet — packed separately from the inner, right at the top
- Groundsheet or footprint — immediately accessible
- Waterproof jacket and trousers — put these on before you start pitching
- Head torch — if there’s any chance you’ll be setting up in low light
I learned this the hard way on a Snowdonia trip — the flysheet was at the bottom of a stuffsack, the inner was on top, and by the time I’d extracted everything in horizontal rain, the inner tent was already soaking. Five minutes of packing thoughtfully at home saves thirty minutes of misery on site.
Check the Forecast — But Plan for Worse
The Met Office mountain weather forecast is reliable for general conditions but less so for exact timing. If there’s a 60% chance of rain, assume it will rain during setup. If wind is forecast above 30mph, have a backup plan. Understanding waterproof jacket ratings helps you judge how long your gear will keep you dry during an extended pitch.
Choosing Your Pitch in Bad Weather
Wind Protection Is Priority One
In calm weather, you pick the flat spot with the nice view. In bad weather, you pick the sheltered spot. Look for natural windbreaks:
- Stone walls — excellent wind shelter, but pitch at least 2m away in case of loose stones
- Tree lines — good wind reduction, but avoid single tall trees (lightning risk) and dead branches that could fall
- Terrain dips — a slight hollow protects from wind but check it doesn’t collect water
- Buildings or vehicles — on campsites, parking your car upwind of the tent creates an effective windbreak
Drainage Is Priority Two
Water flows downhill and collects in dips. In rain:
- Never pitch in a hollow — it will become a puddle
- Look for a very slight slope — enough for water to drain away, not enough to roll off your mat
- Avoid the bottom of slopes — water from the whole hillside funnels down
- Check the ground — if the grass is already boggy before you pitch, it will only get worse
- Feel the soil — compacted earth sheds water, loose soil absorbs it. Compacted is better
Our guide to choosing a camping spot covers terrain assessment in more detail, but in bad weather, shelter and drainage trump everything else.
Orientation
Point the narrowest end of your tent — usually the foot end — into the wind. This presents the smallest surface area and reduces the chance of the wind catching the broadside and turning your tent into a sail. If rain is coming from a consistent direction, angle the door away from it so you can get in and out without flooding the porch.
The Flysheet-First Method
Why It Works
Most tent instructions tell you to pitch the inner first, then drape the flysheet over it. In dry weather, fine. In rain, this means your inner tent — the breathable, non-waterproof bit where you actually sleep — sits exposed to rain while you faff with the flysheet. By the time the flysheet is on, the inner is already wet, and you’ve created the conditions for a damp, cold night.
The flysheet-first method reverses this. You get the waterproof shell up first, creating a dry zone underneath, then clip or hang the inner tent inside it.
How to Do It
- Lay out the groundsheet or footprint in your chosen spot
- Unfold the flysheet on top, oriented correctly (door facing away from wind)
- Thread the poles through the flysheet sleeves or clip them to the flysheet
- Raise the poles and peg out the flysheet corners — you now have a waterproof shelter
- Crawl underneath and attach the inner tent to the pole clips or hooks
- Peg out the inner tent corners through the flysheet
- Tension the guylines
Which Tents Support This?
Not all tents work with the flysheet-first method. Tents with separate inner and outer that connect to the same pole system — like most tunnel tents and many geodesic designs — handle this well. Tents where the inner hangs from a freestanding frame that the flysheet then covers (common in dome tents) are trickier. Check your specific model. If your tent has a pitch-outer-first option, the manufacturer will usually mention it. I’ve used this method with an MSR Hubba Hubba and a Vango Banshee — both worked perfectly with flysheet-first.
Pop-up tents and instant-pitch designs skip this problem entirely — they go up as a single unit. If you frequently camp in bad weather, that’s a genuine advantage of pop-up tent designs.
Pitching in Strong Wind
The Weight-Down Approach
Wind will try to steal your tent the moment you unfold it. The solution is simple: weight everything down immediately.
- Take off your rucksack and place it on one end of the unfolded tent
- Peg the windward corners first — always start with the side facing the wind
- Insert poles while staying low — kneeling reduces your profile and gives you more control
- Peg the remaining corners, then guy out immediately — do not wait until you’ve “finished” to add guylines
Buddy System
If you’re camping with someone, one person holds the tent while the other pegs. In strong wind, a solo pitcher needs to be more methodical — pegging each section before moving to the next, never leaving fabric unsecured. Having a second pair of hands cuts pitching time in half and stress by about 90%.
When It’s Too Windy
There’s a point where pitching becomes unsafe rather than just difficult. If you’re struggling to stand up, poles are flexing beyond their normal curve, or pegs won’t hold in the ground, it’s time to consider alternatives:
- Find better shelter — move to a more protected spot
- Bivvy bag — if you carry one as backup, this is when it earns its place
- Head to a bothy — in Scotland especially, Mountain Bothies Association shelters can be lifesavers
- Retreat — sometimes the smartest call is going back to the car or finding accommodation
The Met Office mountain weather service provides detailed summit and valley wind speeds — check before committing to an exposed pitch.
Pitching in Heavy Rain
Speed Matters More Than Perfection
In heavy rain, a tent that’s up in 5 minutes with slightly wonky guylines is infinitely better than a tent that’s still being pitched after 15 minutes of perfectionism. Get the shell up, get inside, then adjust from the interior. For a related angle, see our How to Stay Warm Camping in Cold Weather guide.
Keep the Inner Dry
The critical window is between unfolding the inner tent and getting the flysheet over it. Minimise this window:
- Use the flysheet-first method described above
- If your tent doesn’t support that, pre-attach the inner to the flysheet at home using the clips, so they go up as one unit
- Have a large bin bag or dry bag ready to throw over the inner tent while you wrestle with poles
Manage Water Pooling
Once the tent is up, check for water pooling on the flysheet. Sagging fabric creates pools that can collapse the tent or drip through seams. Push up from inside to create slope, or tighten guylines to eliminate sag. Running your hand along the outside to channel water off the flysheet is ugly but effective.
Anchoring and Guying Out Properly
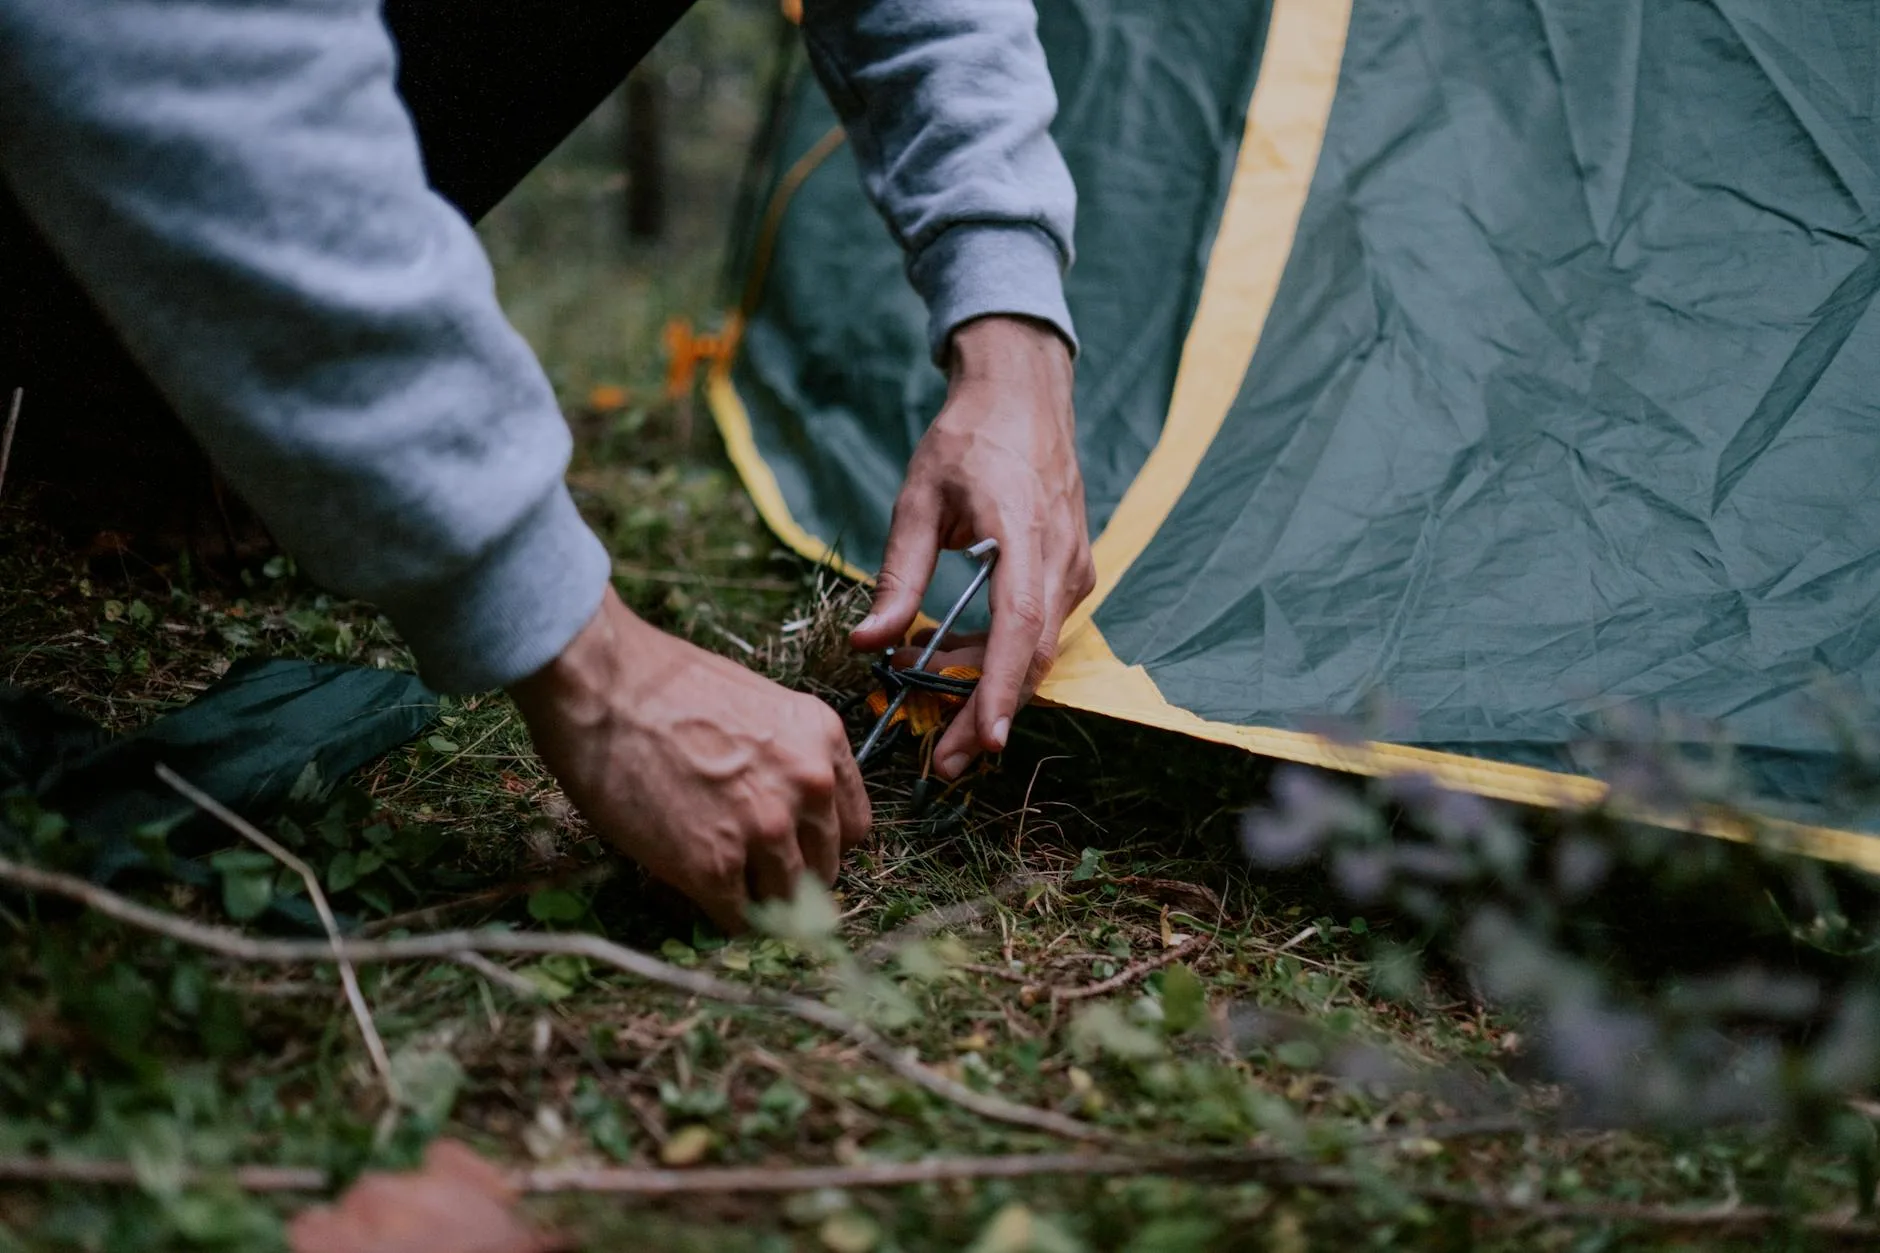
Peg Angles
Drive pegs in at a 45-degree angle away from the tent, not vertically. This creates a hook effect that resists upward pull from wind. In soft ground, push the peg in to the hilt — the more surface area in contact with soil, the better the holding power.
Guy Line Tension
In bad weather, every guyline should be deployed and tensioned — not just the ones you feel like doing. Guylines aren’t decorative; they’re structural. They spread wind load across the tent and prevent fabric from flapping, which causes noise, wear, and ultimately failure. Most modern tents include reflective guylines — another reason your head torch matters during setup.
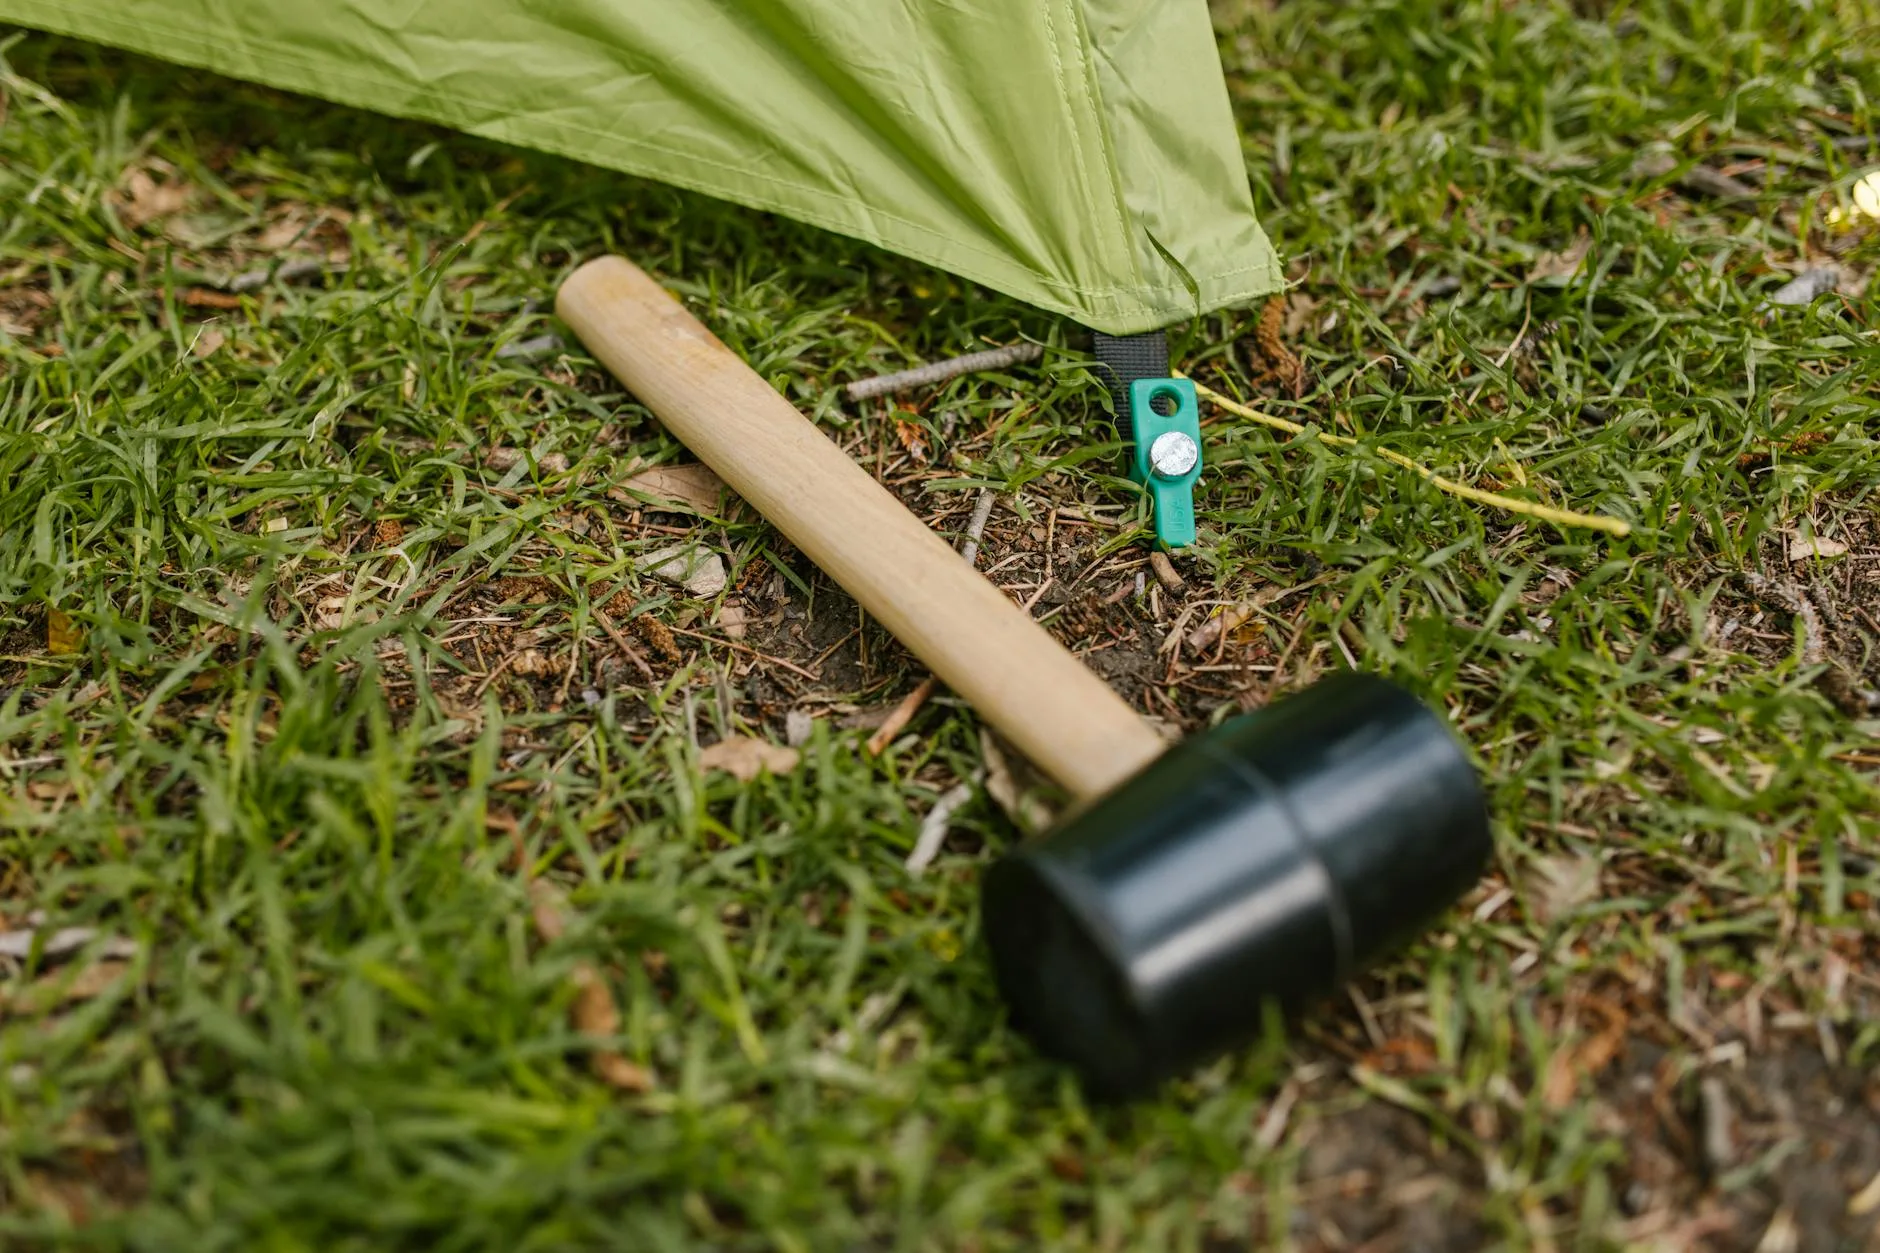
Ground Conditions
- Soft soil — standard pegs work fine, push fully in
- Hard ground — use sturdy steel pegs, not the lightweight aluminium ones. A rubber mallet or rock helps
- Sandy ground — broad snow pegs or sand anchors, or bury a stuff sack filled with sand as a deadman anchor
- Rock — weight the guylines with large rocks instead of pegging. Loop the guyline around the rock and tension with a truckers’ hitch
Rock Anchors
On rocky ground where pegs are impossible, use the deadman technique:
- Find rocks roughly the size of a football
- Loop the guyline around the rock
- If possible, wedge the rock into a crevice or behind another rock
- Tension the line — it should be taut enough to hum slightly when flicked
This technique is standard practice for wild camping above the tree line, where soil is thin and wind is strong.
Protecting the Interior
The Groundsheet Tuck
If your groundsheet or footprint extends beyond the flysheet edge, rain will pool on it and seep underneath the tent floor. Tuck the edges under the tent so all groundsheet material sits inside the flysheet perimeter. This is the single most common cause of a mysteriously wet tent floor — water runs down the flysheet, hits the protruding groundsheet, and wicks underneath.
Porch Management
Your tent porch is the airlock between wet outside and dry inside. Keep muddy boots, wet jackets, and dripping rucksacks in the porch, not inside the sleeping area. A small mat or carrier bag on the porch floor saves cleaning later. Remove porch items that could blow away if the door opens unexpectedly.
Ventilation
This seems counterintuitive in rain, but ventilation is essential. Without airflow, your breath creates condensation on the inner tent walls, which drips onto your sleeping bag and creates the impression of a leaking tent. Keep vents open and avoid sealing every gap. A slightly breezy tent stays drier inside than a sealed one.
Condensation vs Leaking
Many campers think their tent is leaking when it’s actually condensation. I spent an entire night on Dartmoor convinced my tent was faulty before discovering the wet patches were condensation from my own breathing. Touch the wet patch — if it’s on the inner tent wall, it’s condensation. If water is running down the flysheet and dripping through a seam, that’s a leak. Condensation is managed by ventilation. Leaks need seam sealant — carry a small tube in your repair kit.
Common Mistakes That Make Bad Weather Worse
Pitching Under Trees for Shelter
Trees block rain initially but then create heavy drips long after the rain stops. Tree sap damages tent fabric. Dead branches fall in wind. And in thunderstorms, tall trees attract lightning. Use tree lines as windbreaks by pitching near them, not under them.
Forgetting to Tension After Setup
Tent fabric stretches when wet. What was taut during setup becomes saggy after an hour of rain, creating pools and flapping. Check guyline tension 30 minutes after pitching and before bed. This takes 60 seconds and prevents most overnight problems.
Touching the Inner Against the Flysheet
When the inner tent fabric presses against the flysheet, water wicks through by capillary action. Keep space between them by maintaining pole tension and guyline tautness. Hanging items from the inner tent ceiling (like a head torch on a cord) can push fabric outward — avoid this in heavy rain.
Leaving Kit Outside
Your boots, rucksack, and walking poles belong in the porch or under the flysheet, not sitting in the rain. Wet boots in the morning make for a miserable day. If porch space is limited, plastic bags over boots keep them drier than leaving them exposed.
Breaking Camp in Bad Weather
Pack in Reverse Order
Get dressed in waterproofs first. Remove the inner tent and pack it into a dry bag immediately — keeping it dry means a dry setup at the next camp. Then collapse the flysheet, shake off excess water, and stuff it into a separate bag. Never pack a wet inner and wet flysheet together; the inner absorbs moisture from the outer.
Speed Packing
In heavy rain, don’t fold neatly — stuff everything into bags as fast as possible and sort it out later in dry conditions. Tent poles should be collapsed carefully regardless of weather (slamming them together damages the shock cord), but fabric can be dealt with messily if it means less time in the rain.
Drying at Home
Never store a wet tent. Mildew sets in within days and destroys waterproof coatings. Hang the flysheet and inner separately in a garage, shed, or over a bannister as soon as you get home. Let them dry completely before packing away for storage.
Frequently Asked Questions
Can you pitch a tent in the rain without getting the inside wet? Yes, using the flysheet-first method. By erecting the waterproof outer shell first, you create a dry zone underneath where you can then attach the inner tent. This prevents the breathable inner from getting soaked during setup.
What wind speed is too strong for camping? Most quality three-season tents handle winds up to 35-40mph when properly guyed out. Above 40mph, conditions become risky for most recreational camping. Above 50mph, even mountain tents struggle. Check the Met Office mountain weather forecast before heading out, and have a backup plan if conditions worsen.
Should I use a footprint under my tent in bad weather? Yes, but keep it slightly smaller than the tent floor or tuck the edges under. A footprint protects the tent floor from sharp stones and abrasion, and adds a small moisture barrier. If it extends beyond the flysheet, however, it will channel water underneath your tent.
How do I stop condensation inside my tent? Keep vents open, even in rain. Avoid cooking inside the tent. Breathe toward the door end rather than the wall. Accept that some condensation is inevitable in UK conditions — manage it by wiping walls with a small towel in the morning and ventilating whenever possible.
Is it worth buying a tent specifically for bad weather? If you camp regularly in the UK, yes. A tent with a high hydrostatic head rating (3,000mm+), a separate flysheet-first pitch option, good ventilation, and a generous porch makes a real difference. Geodesic and tunnel designs handle wind better than dome tents.